Bowtie
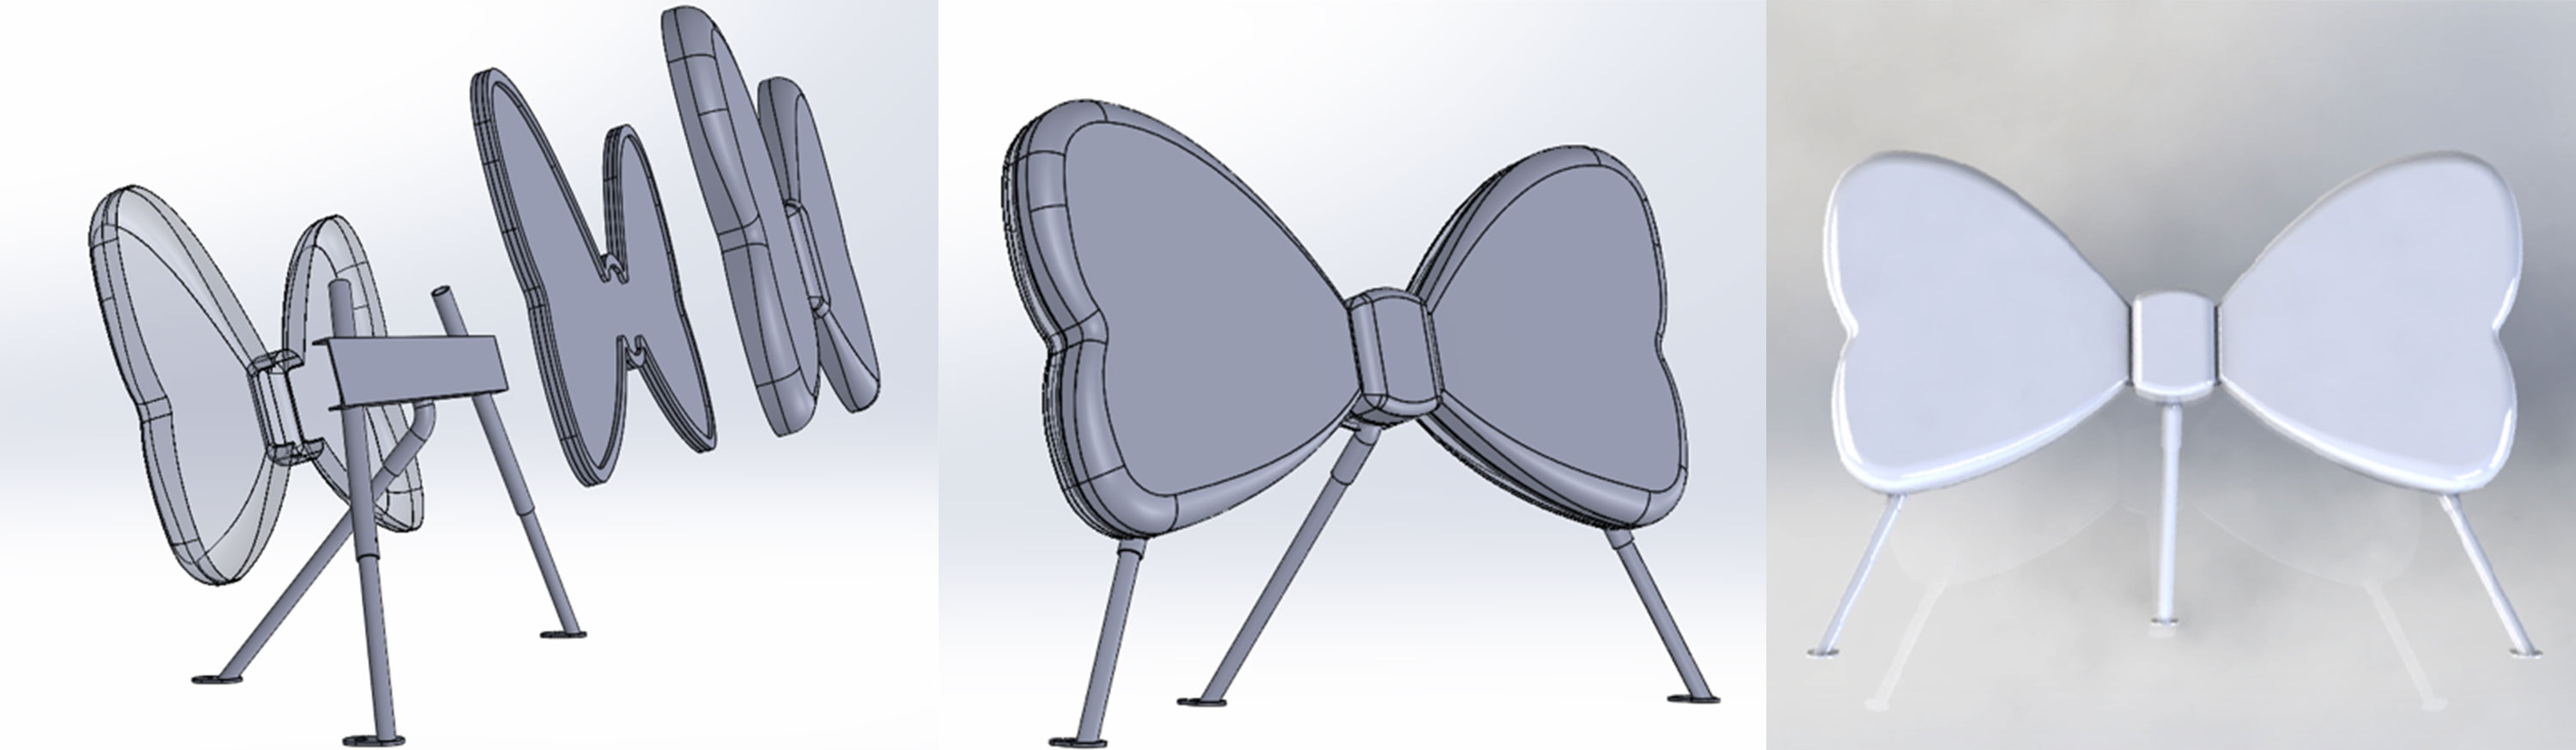
3D models and rendering of project.
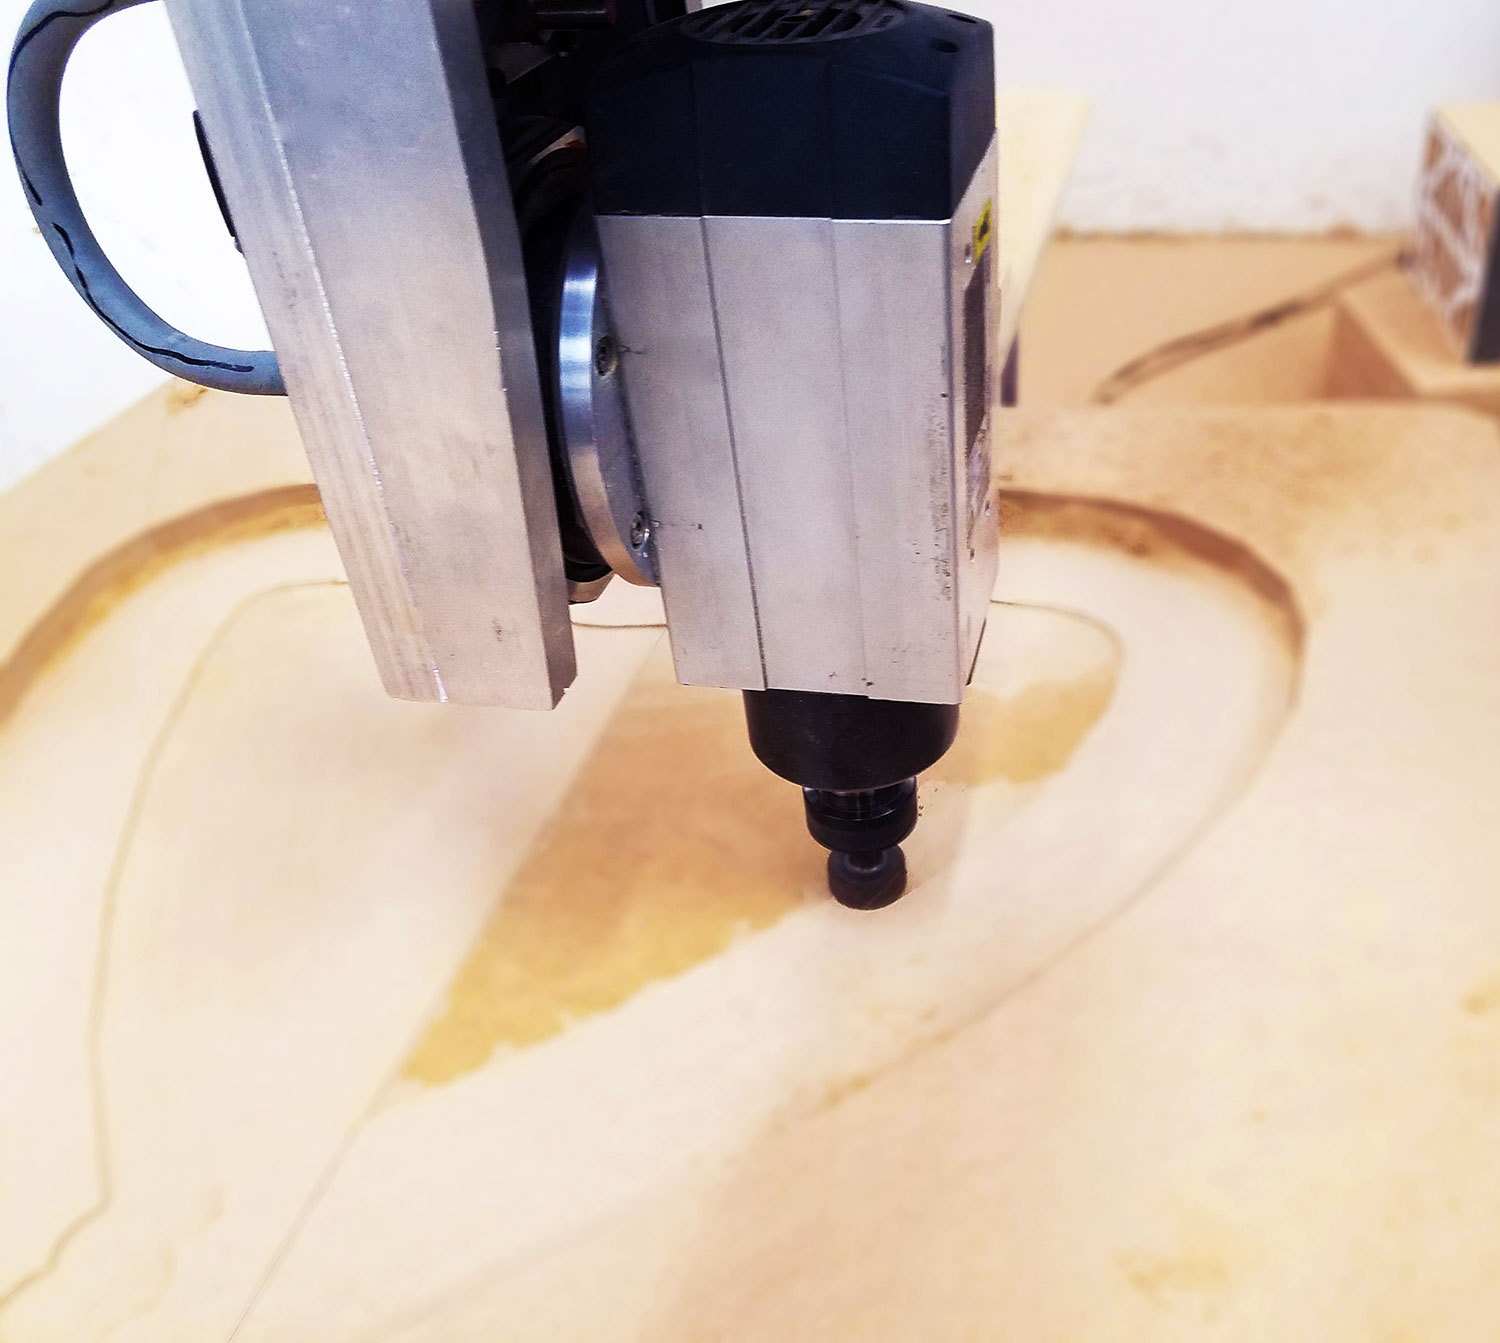
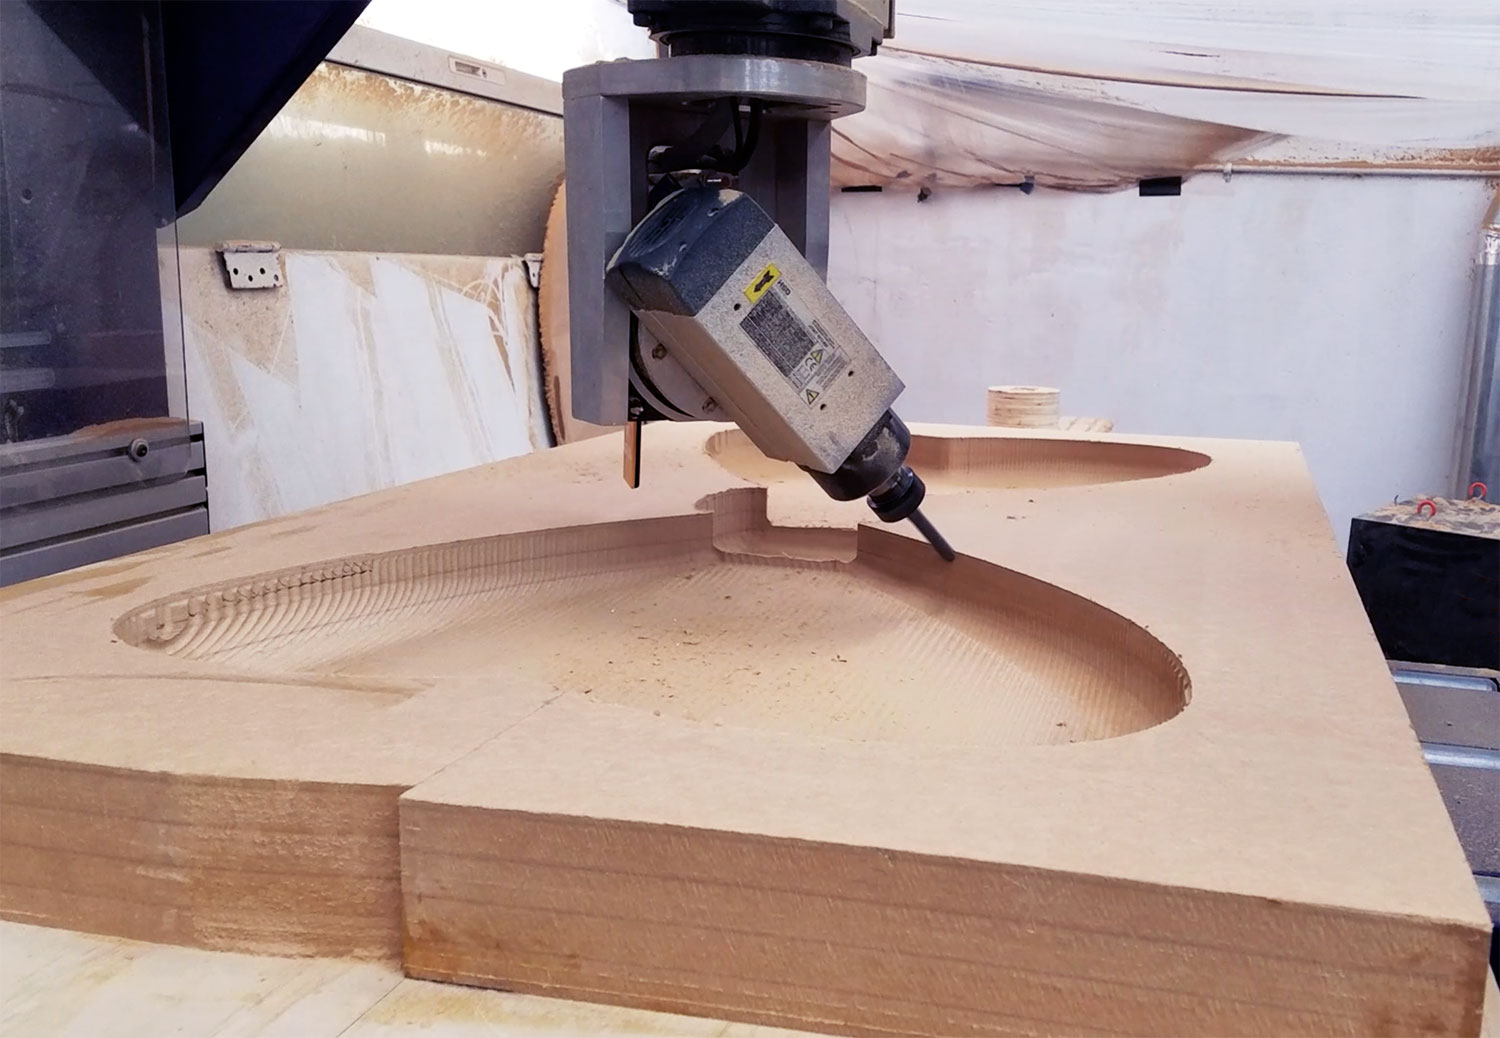
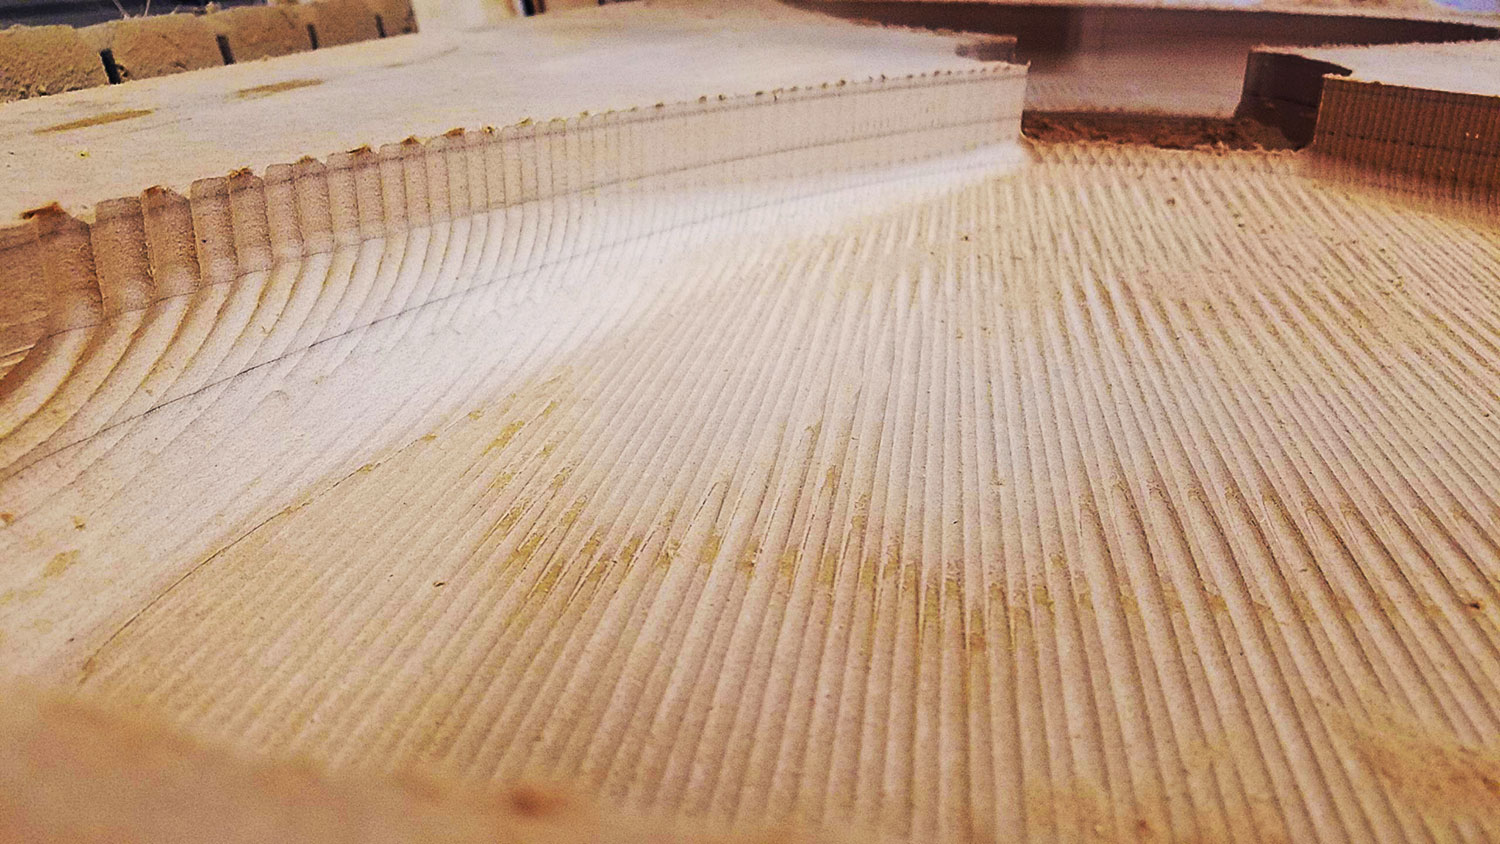
5 axis CNC machine cutting and tooling their limited production mold.
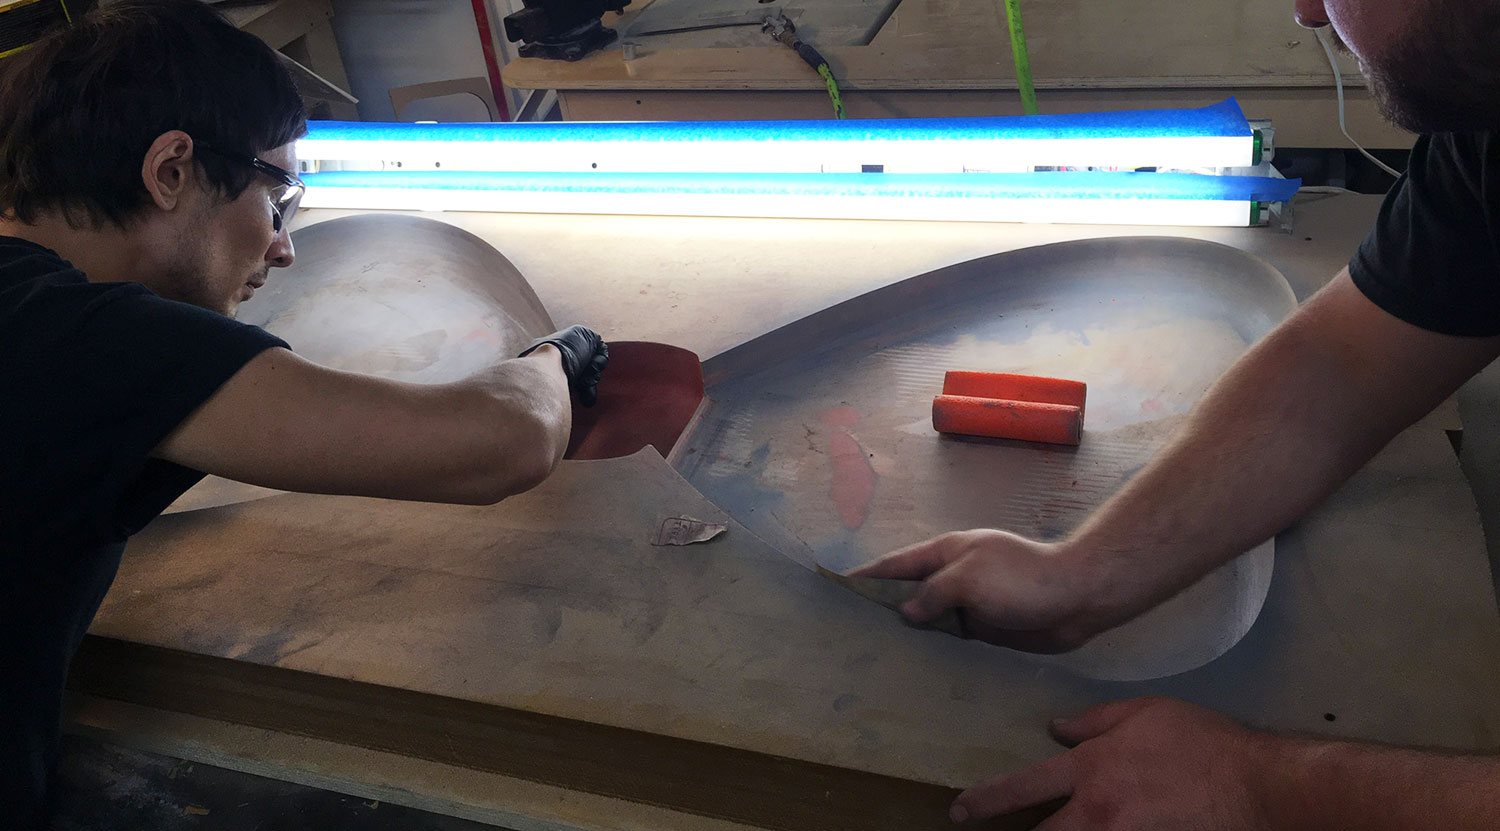
Sanding and faring the tooling marks from the mold.
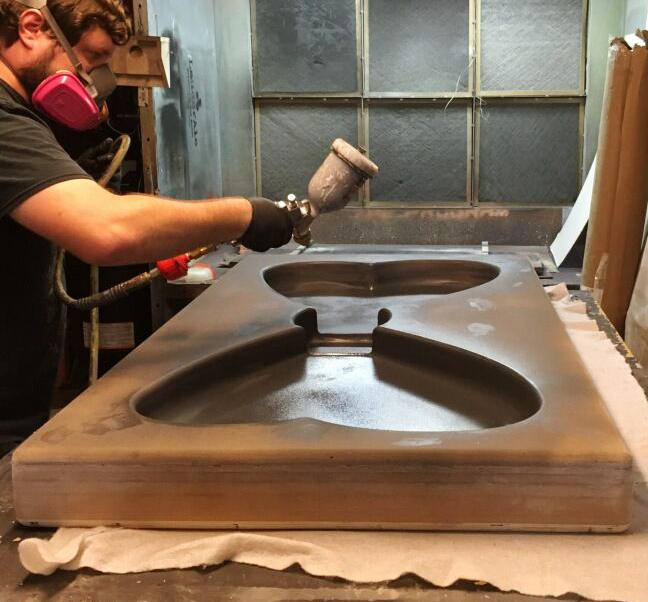
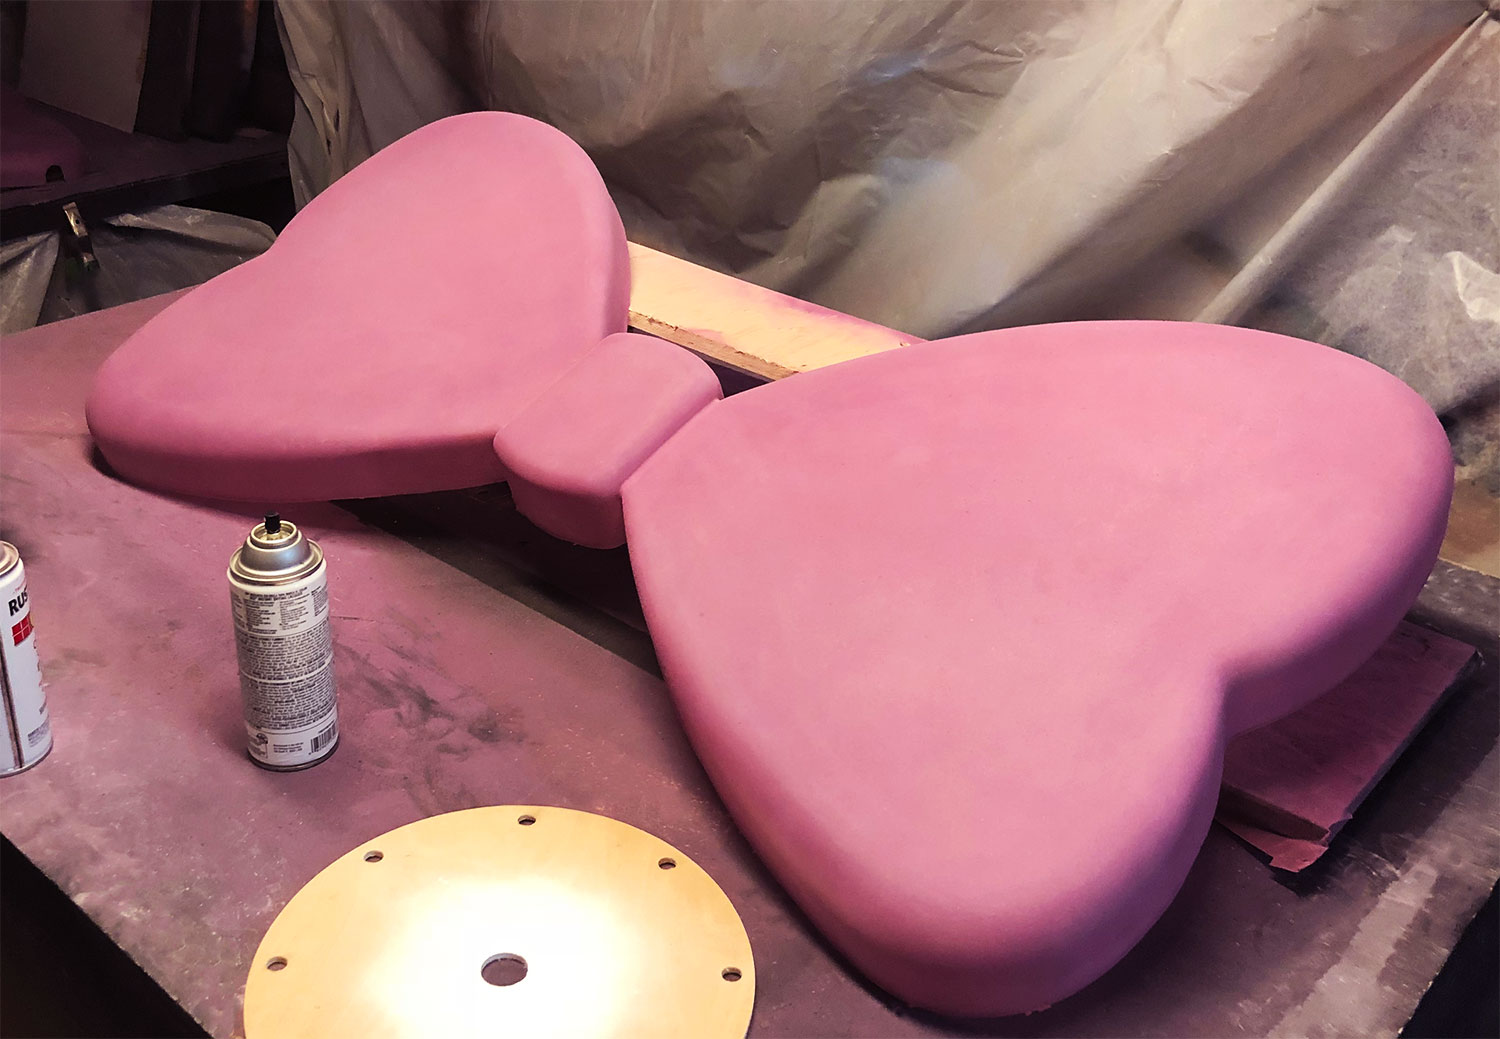
Spraying and sealing the bowtie mold.
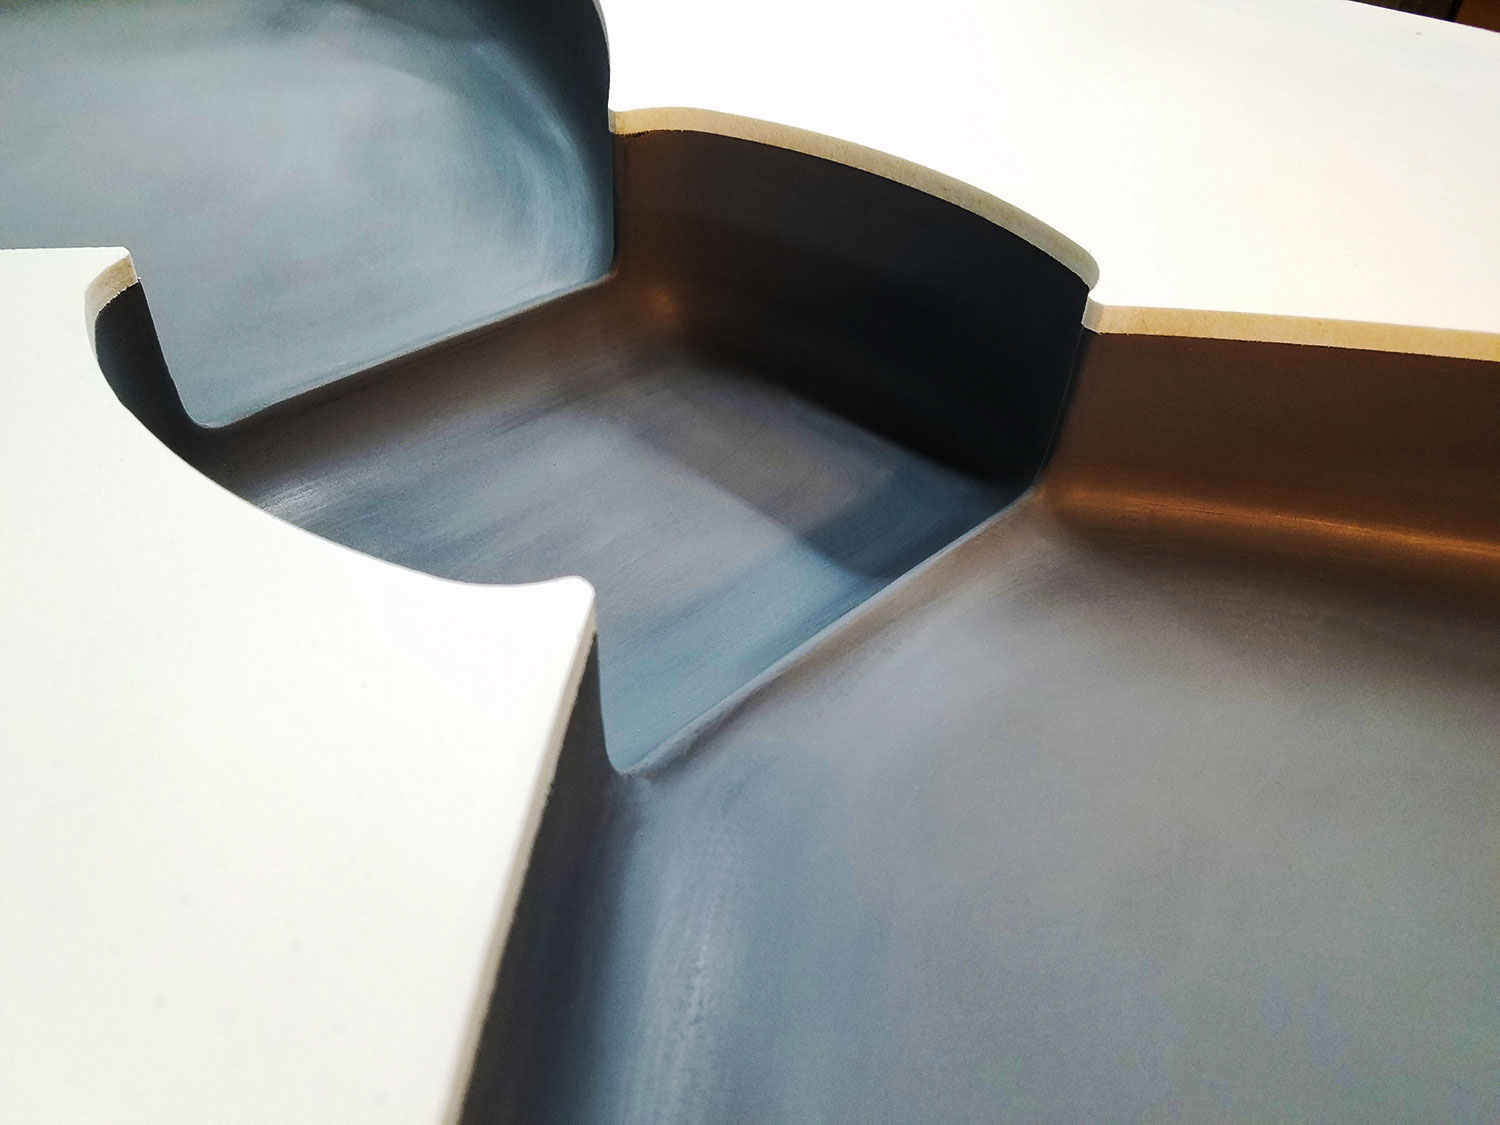
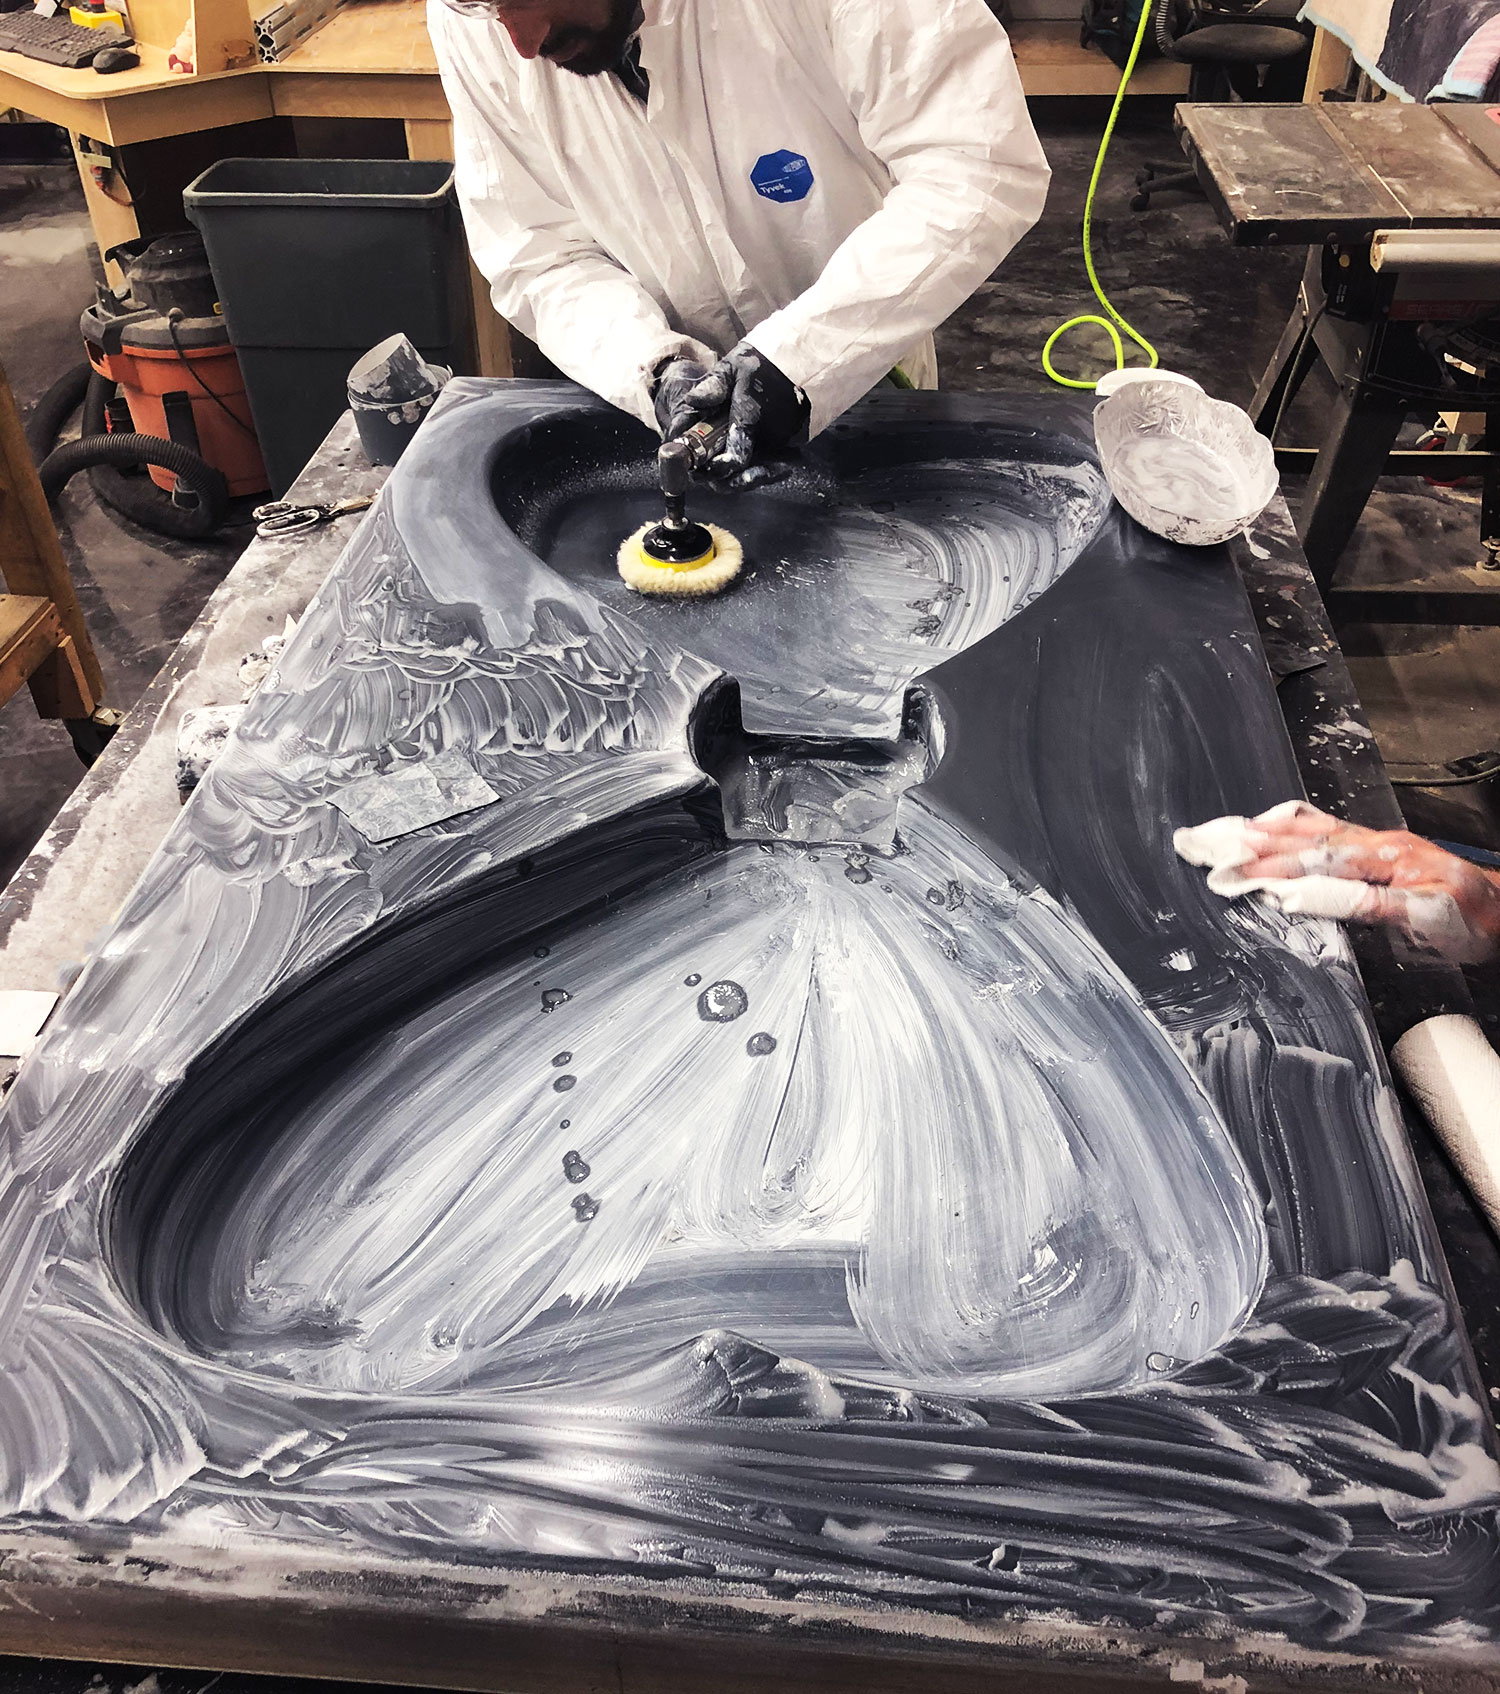
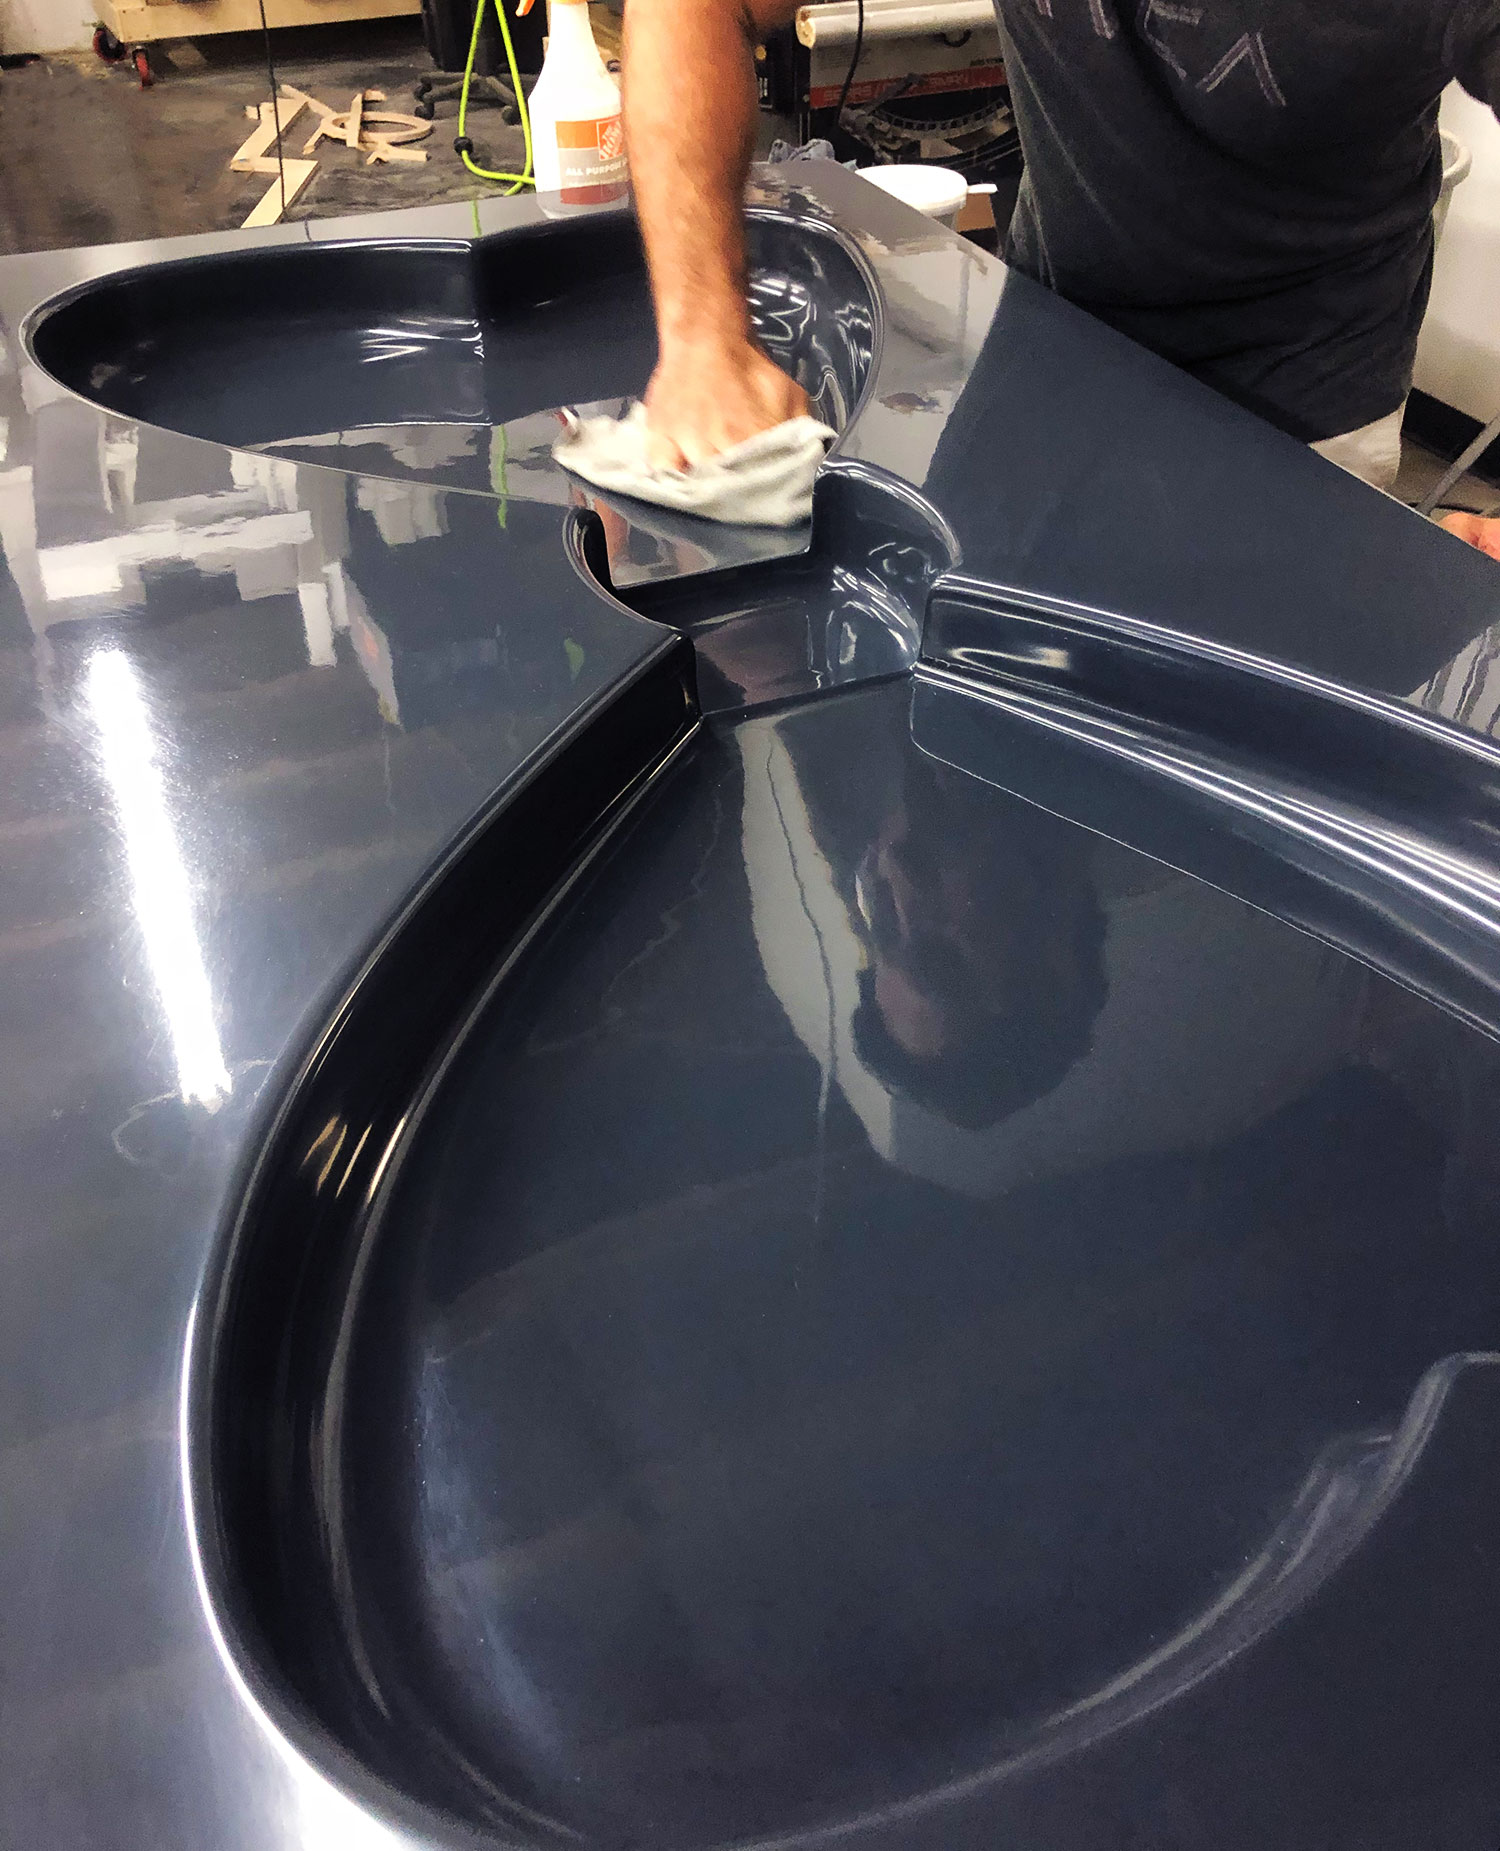
Polishing to perfection.
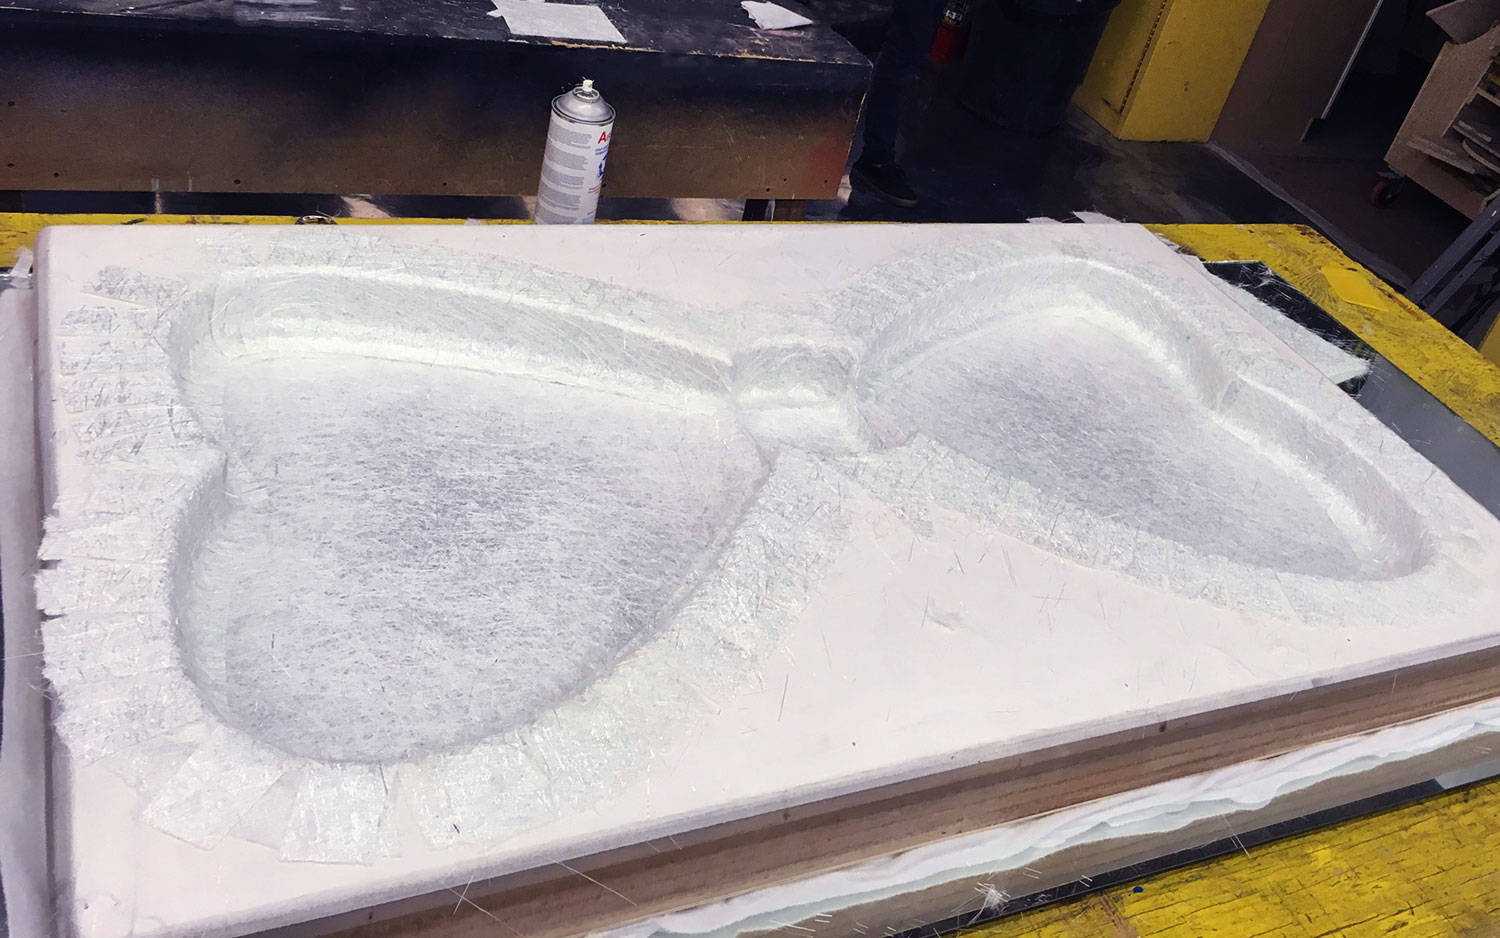
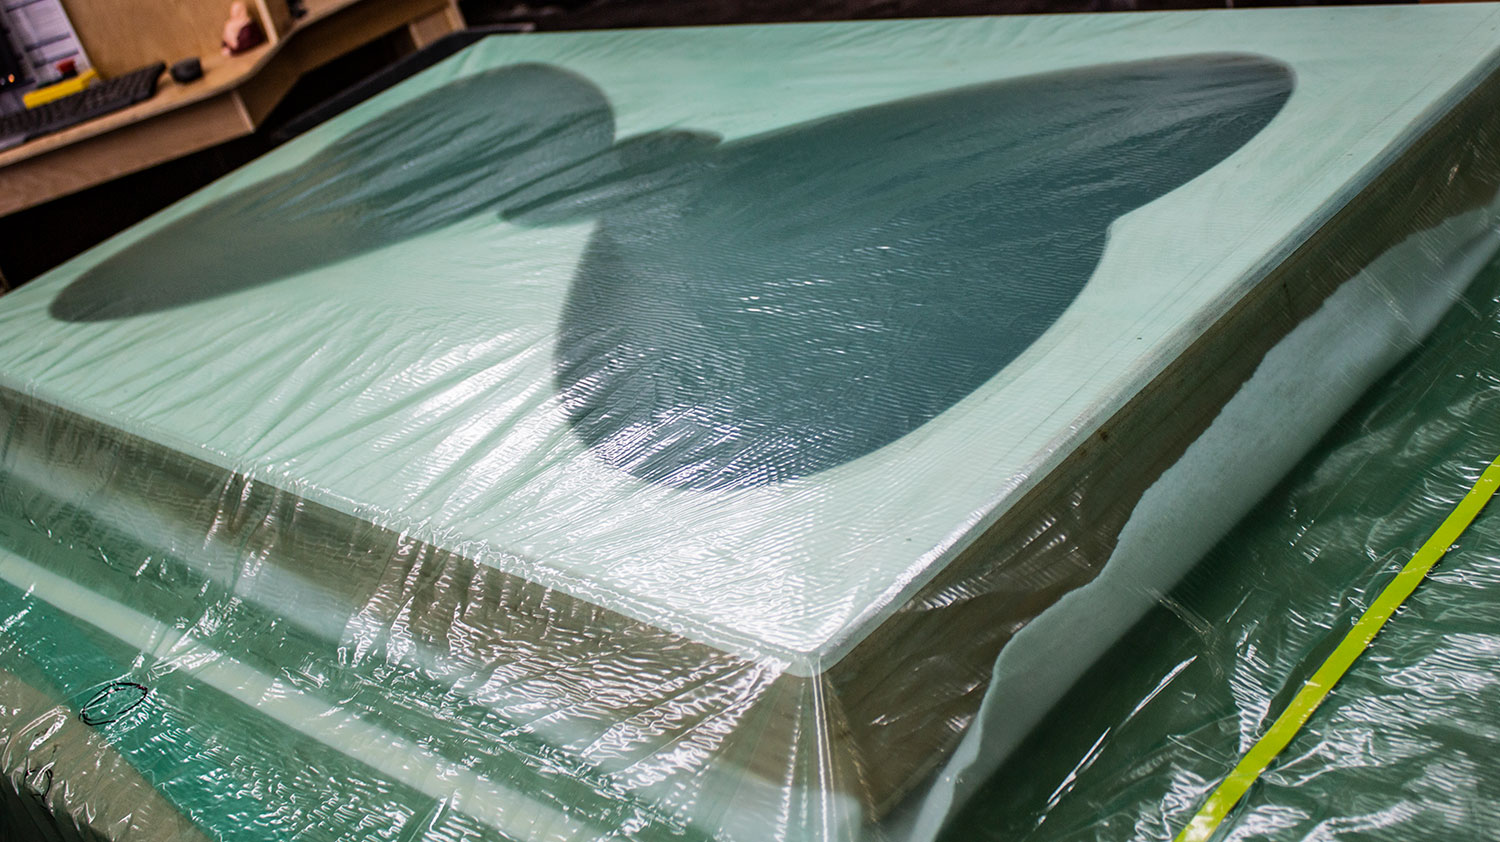
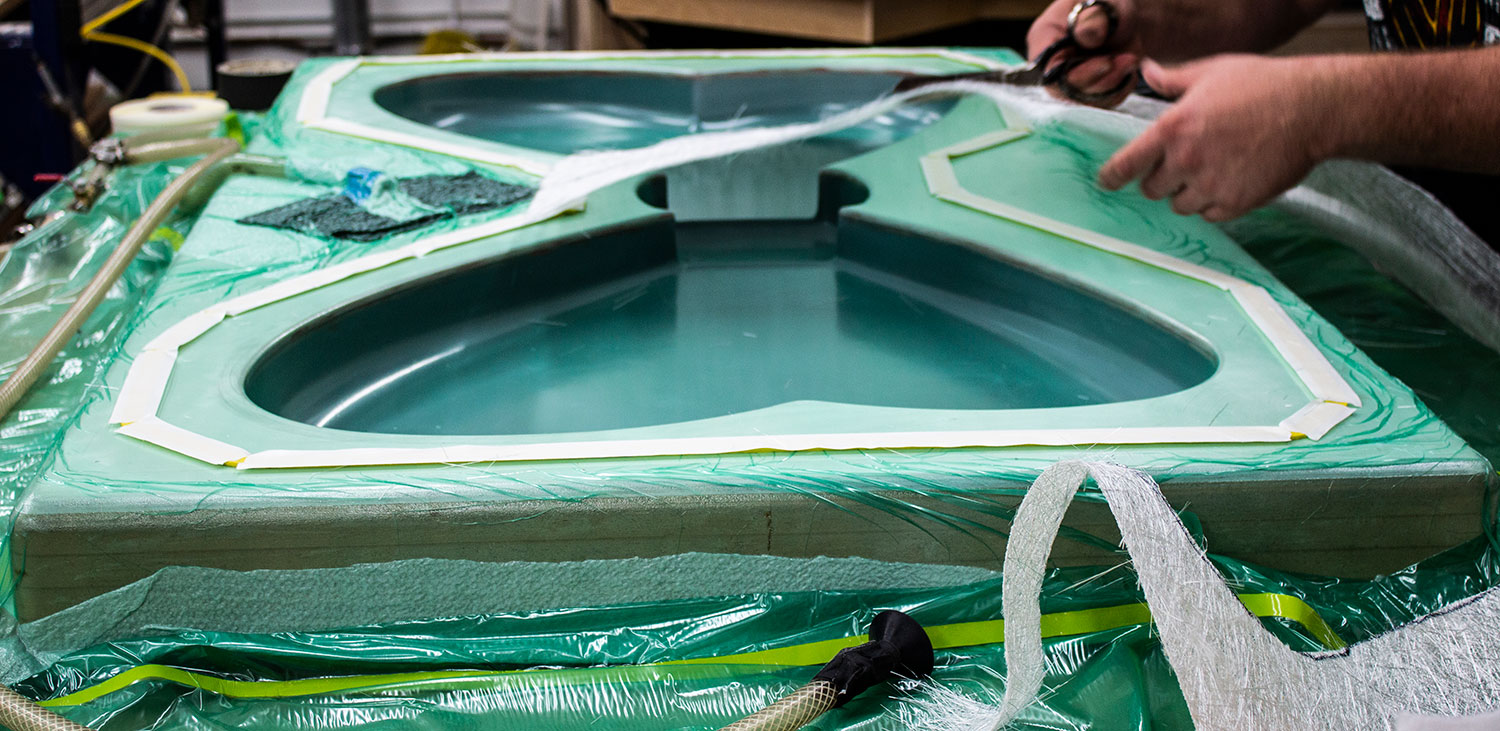
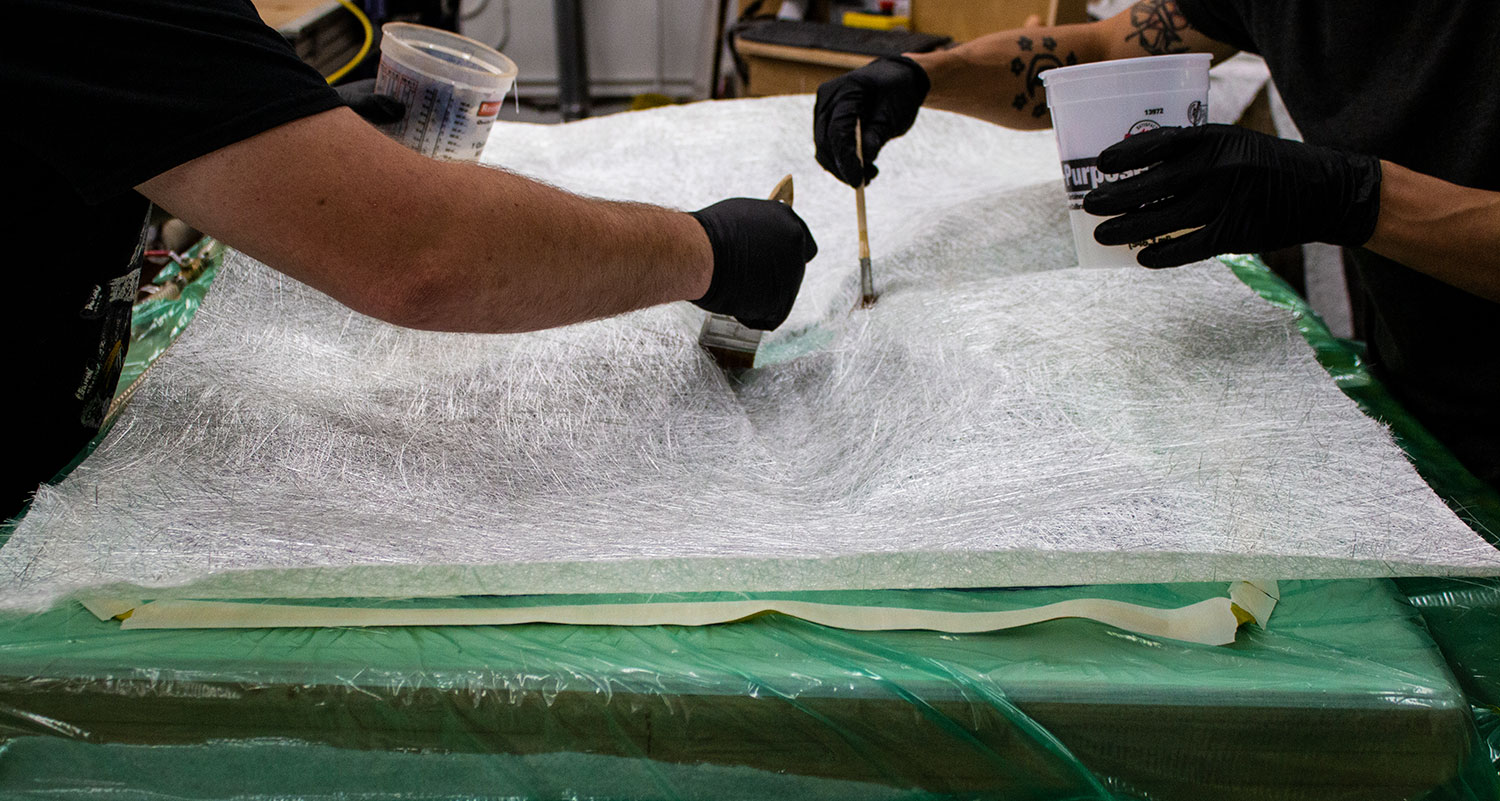
Prepping for lamination.

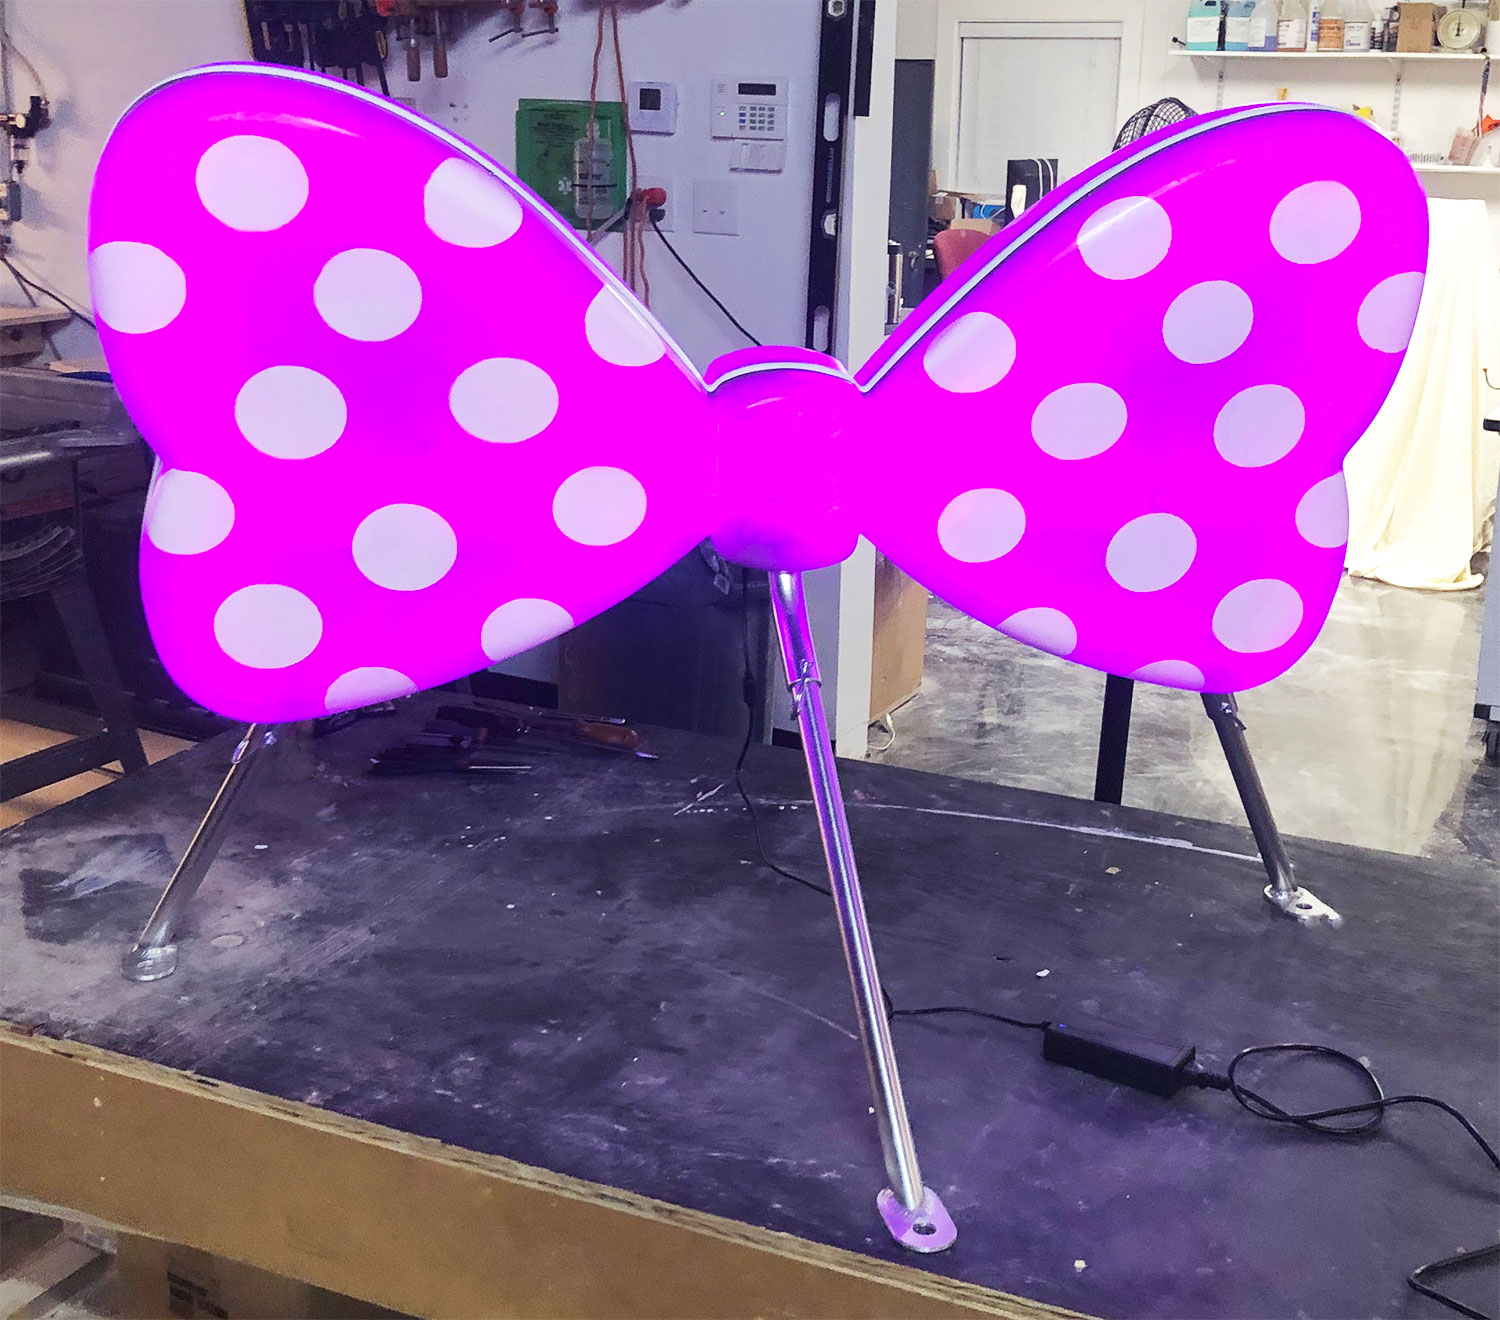
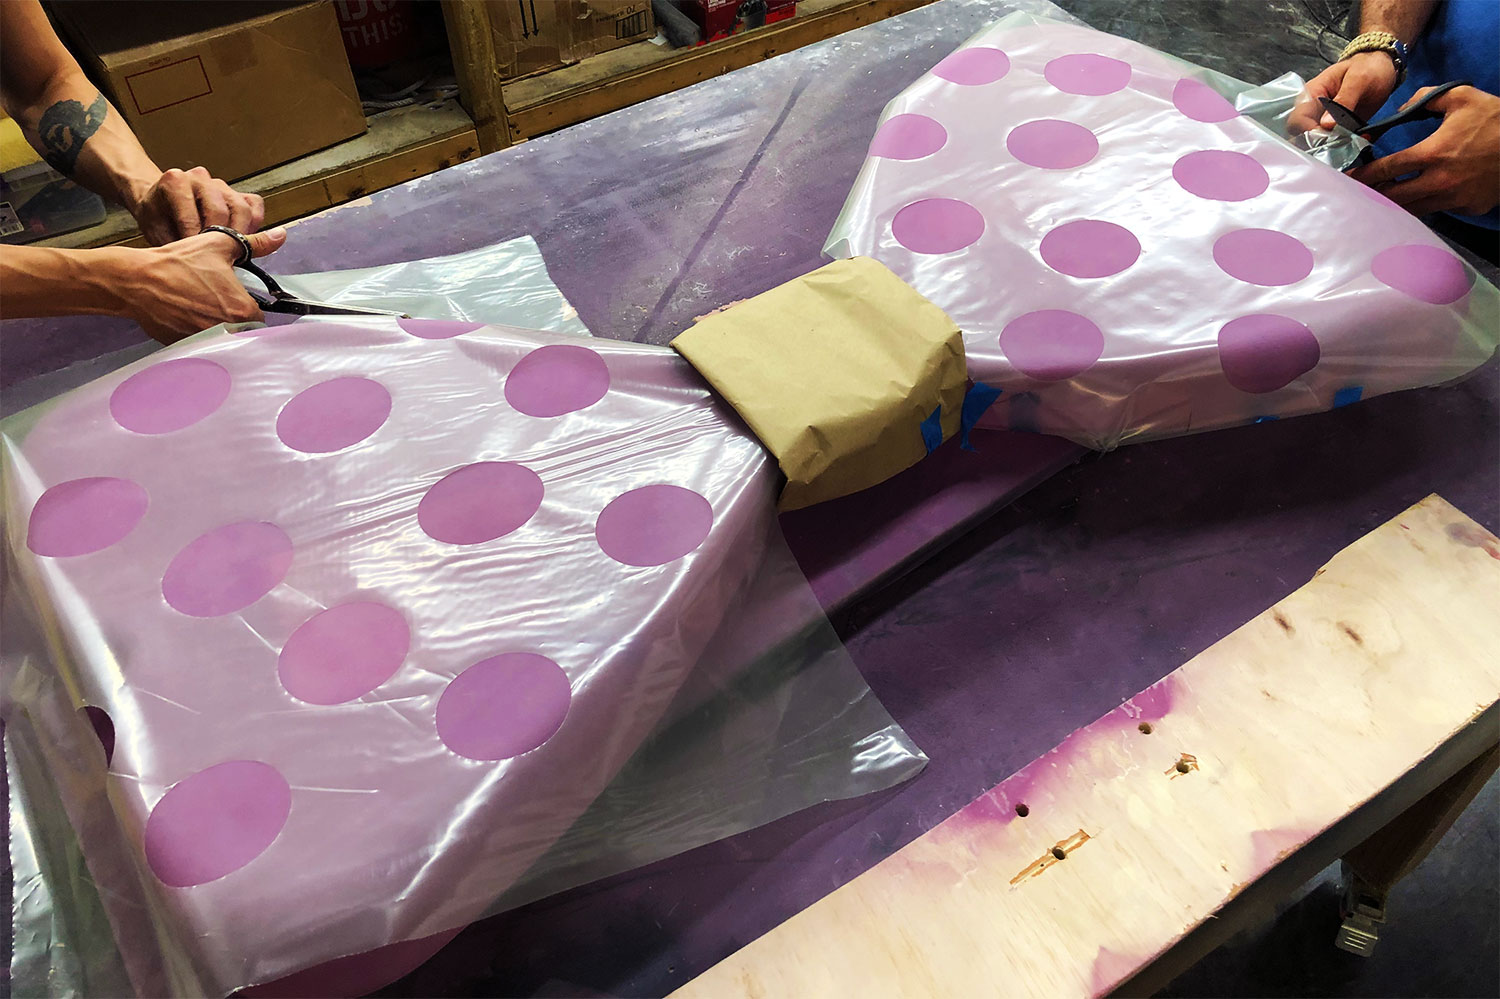
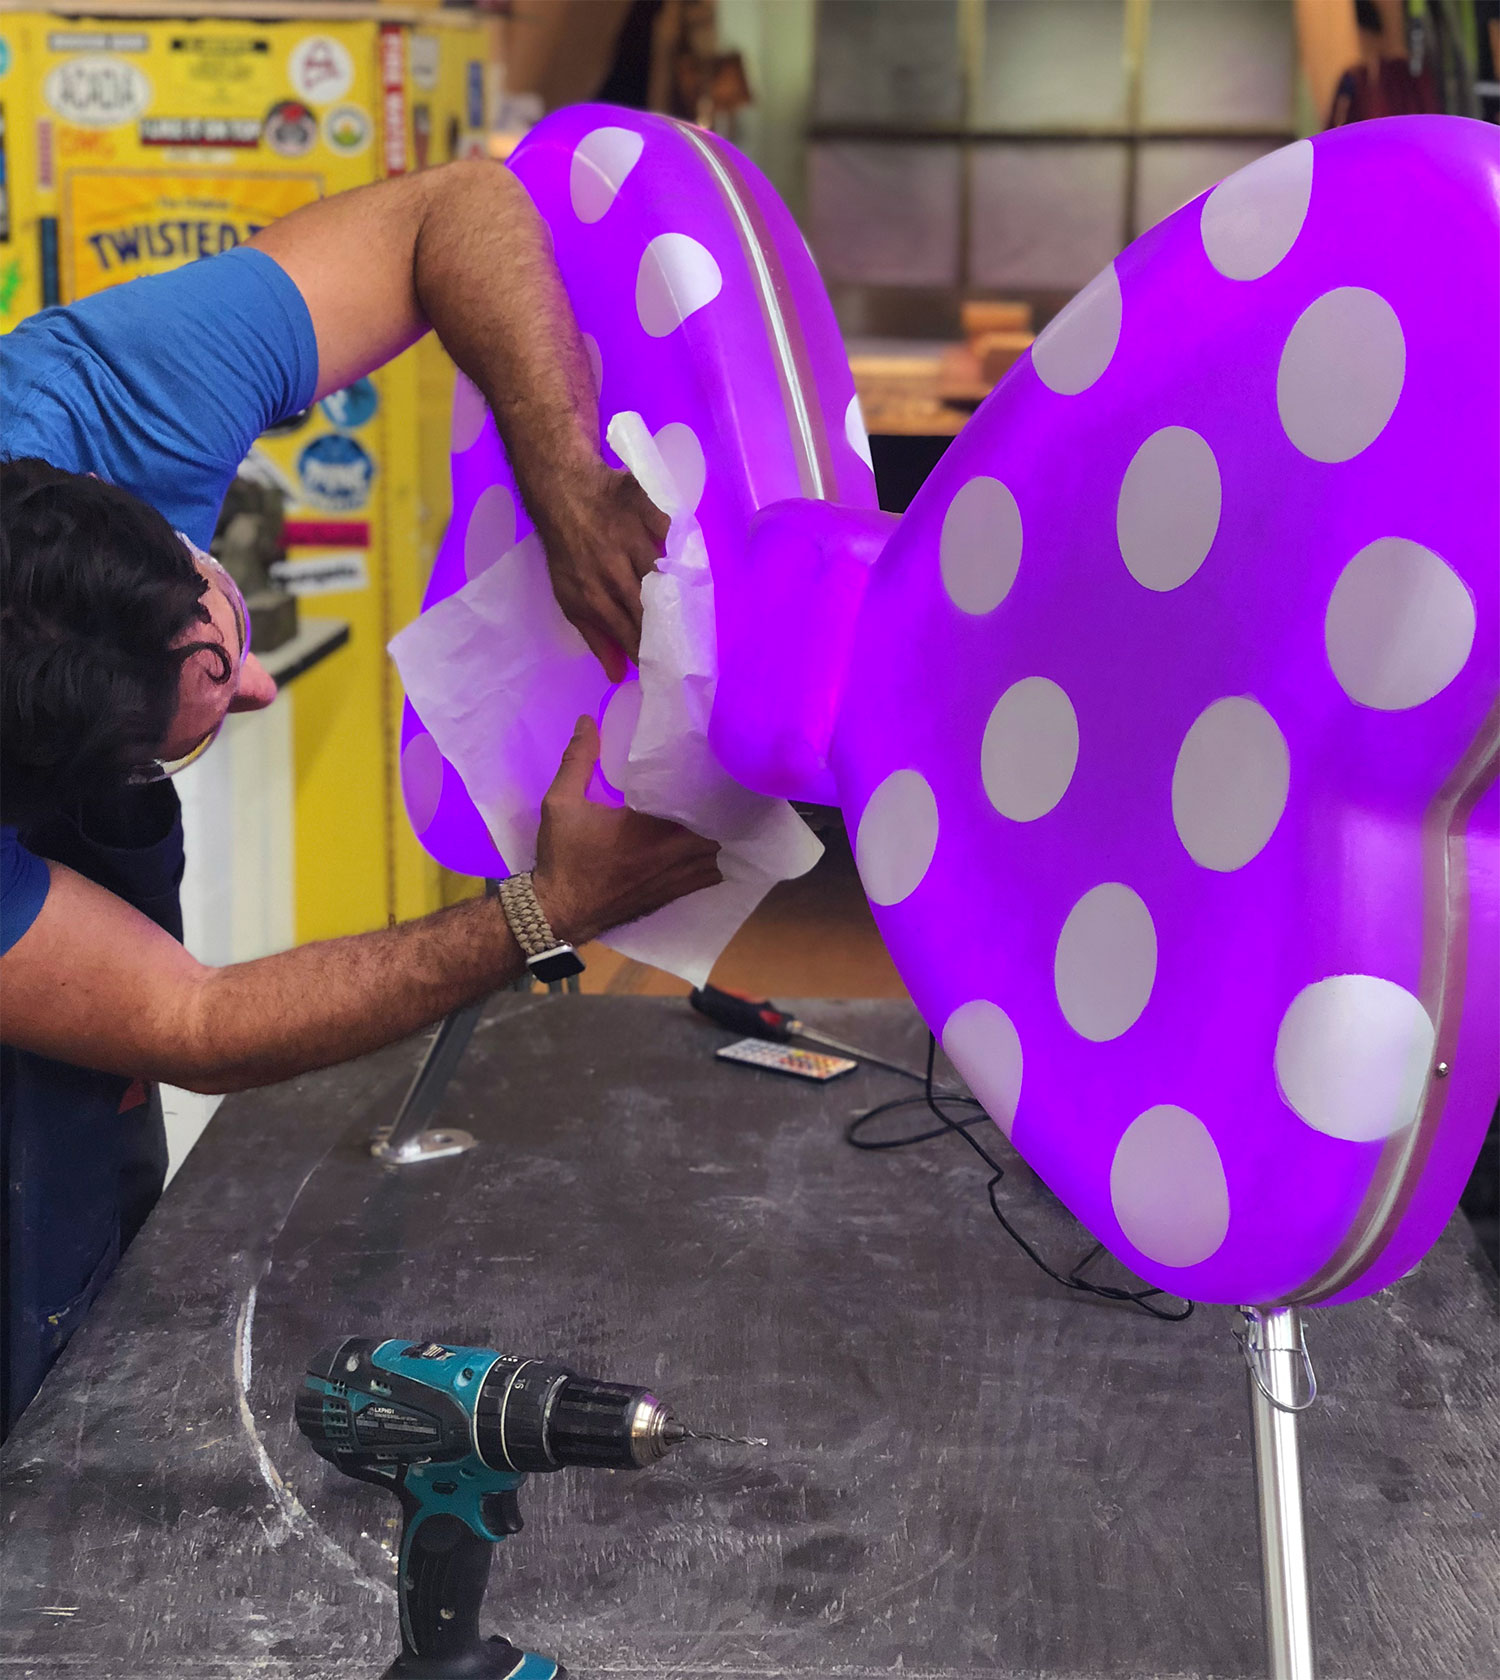
Adding translucent color and opaque polka dots to the finished part. In house CNC drag knife cut stencil was created for the polka dots.
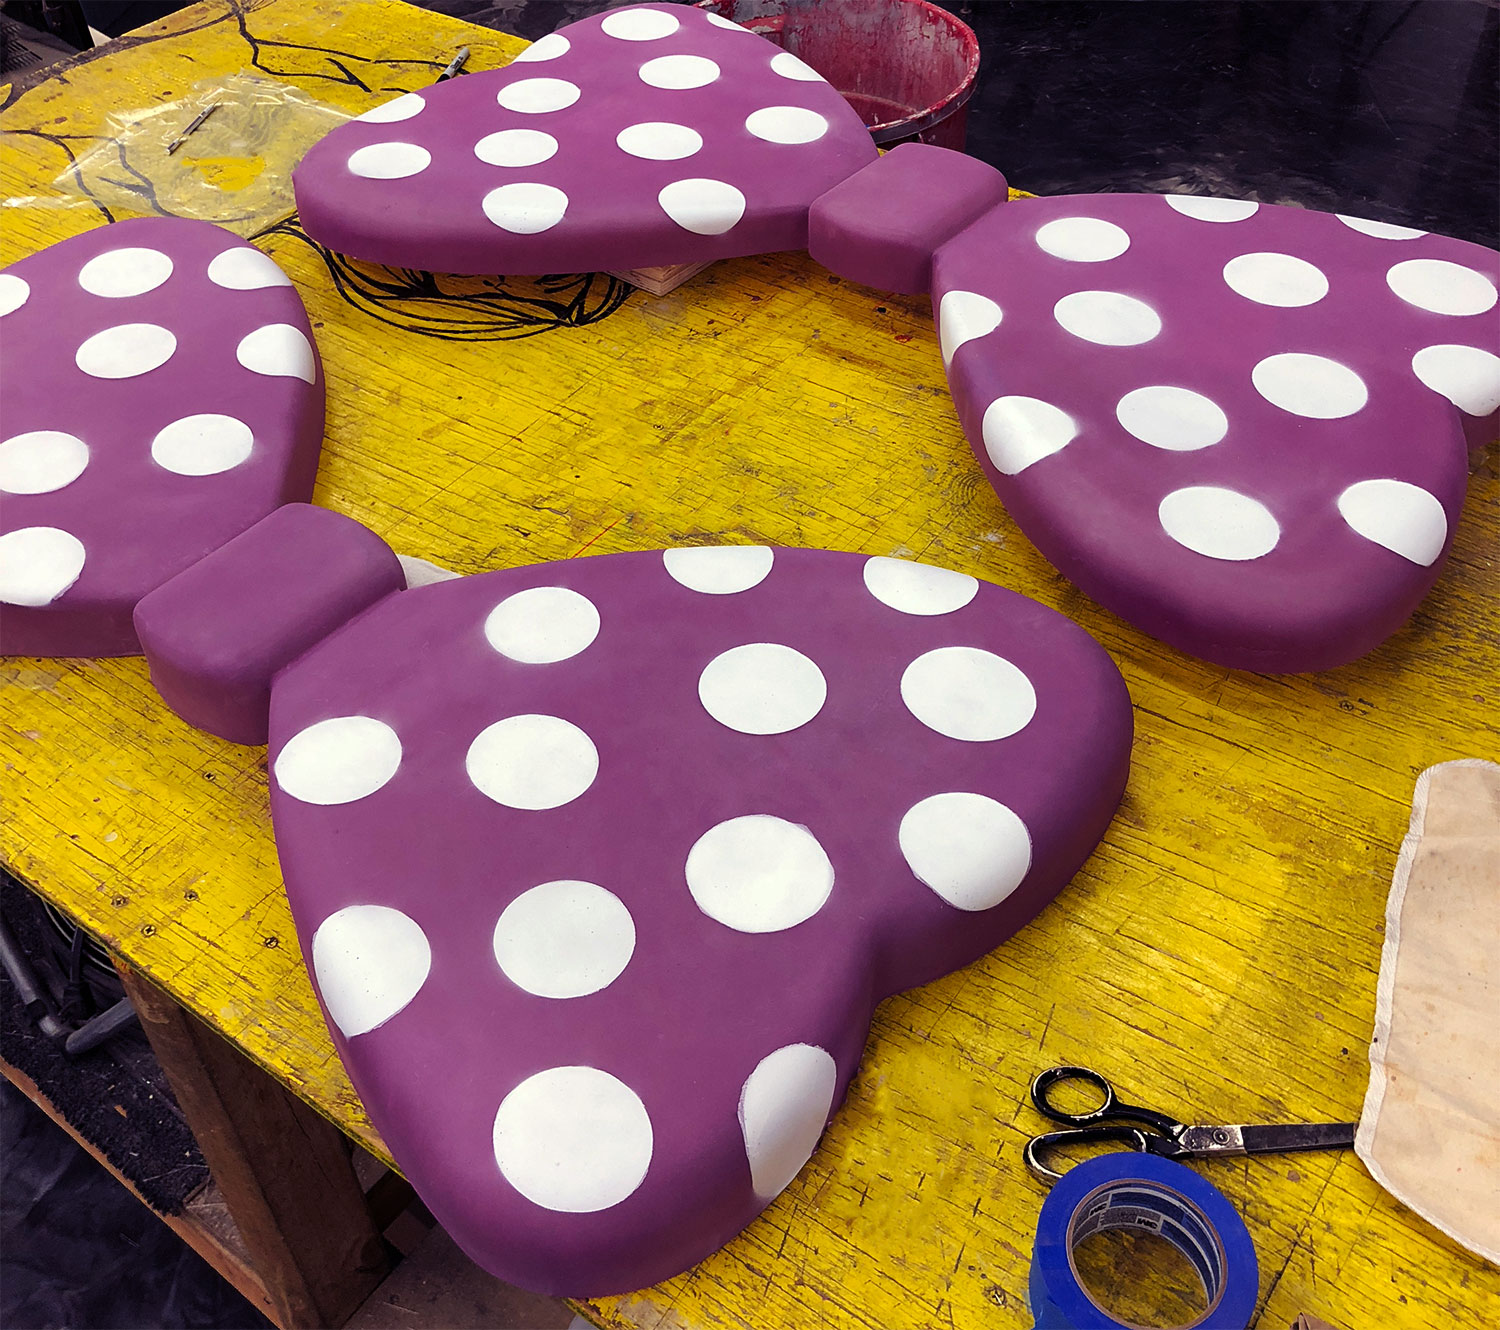
On left: Finished halves of bowtie ready for assembly.
On right: LED refraction and center mounting panel for composite bowtie halves. Pictured here with installed programmable color-changing LED lighting.
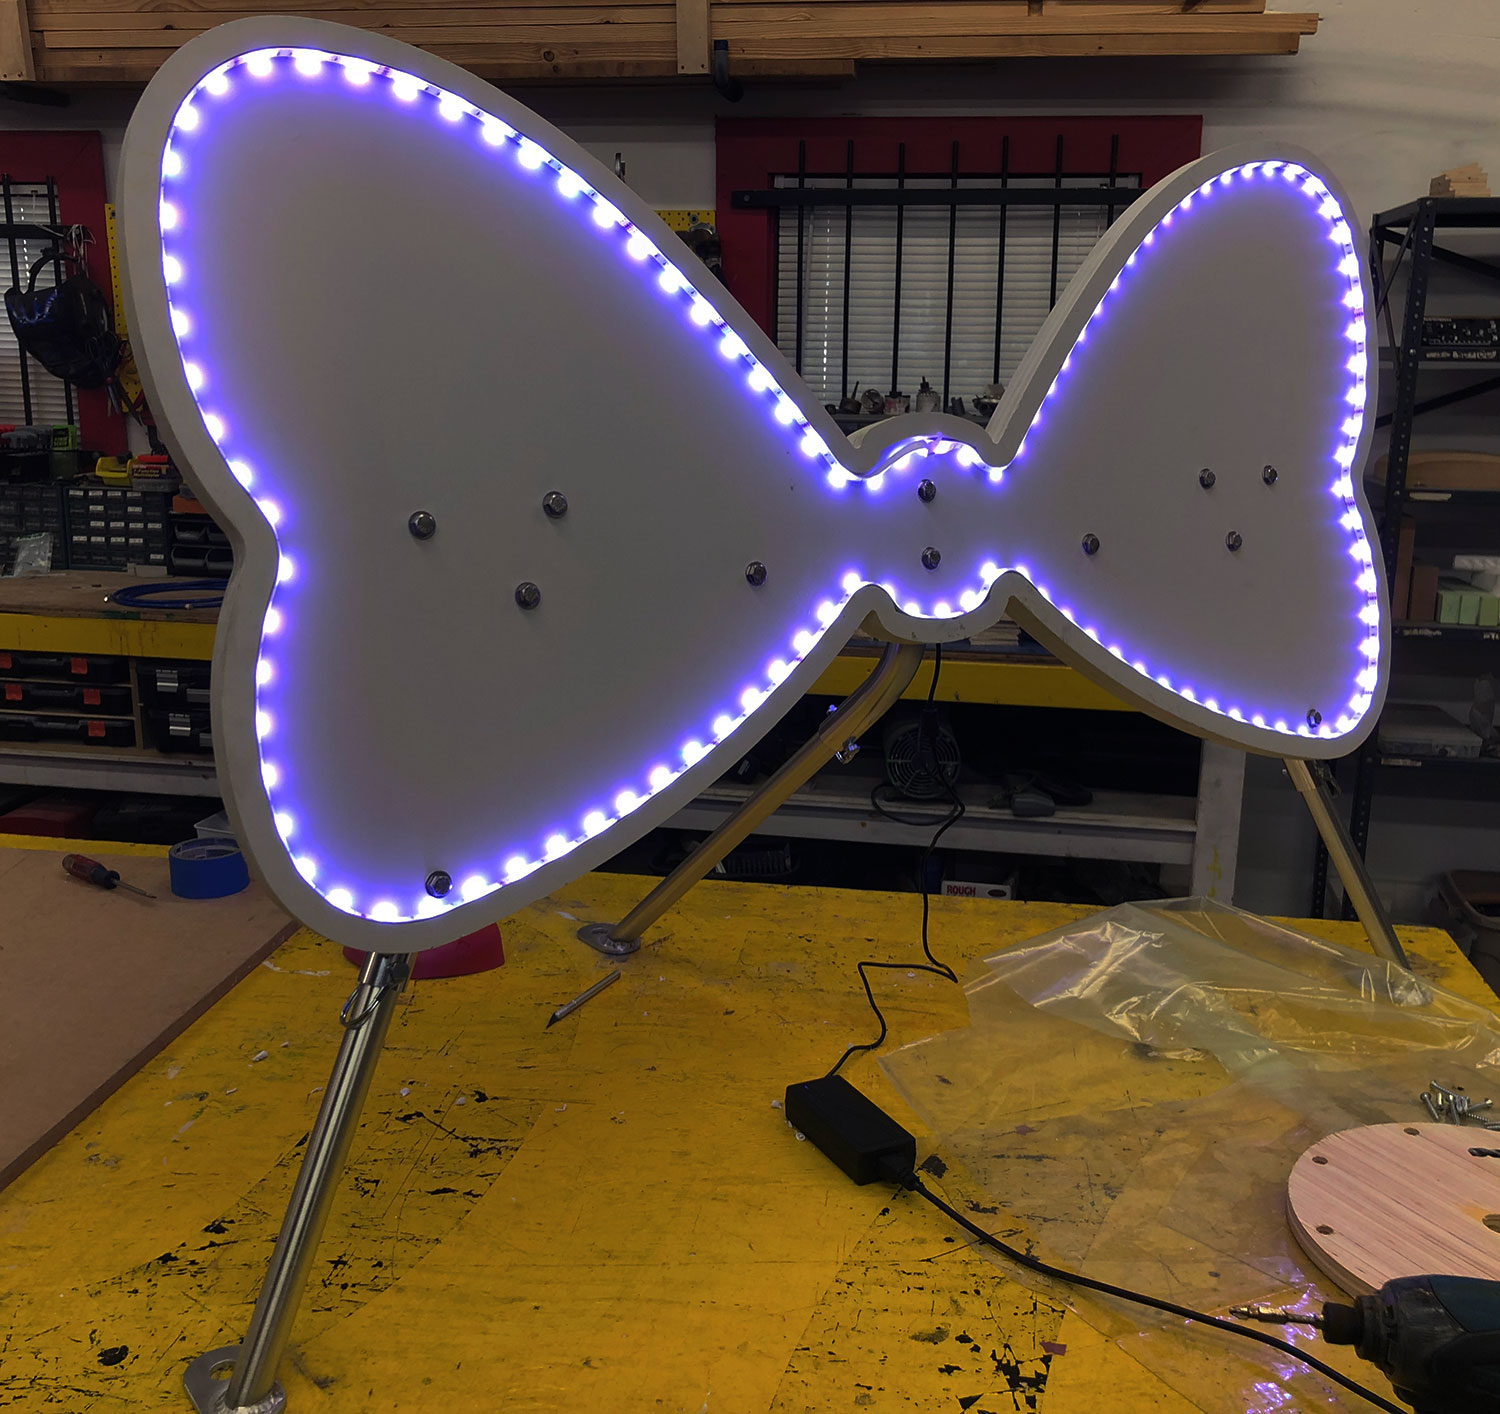
Notice the custom in house fabricated anodized aluminum base with mounting anchors to be freestanding or staked down for high winds on the finished product below.